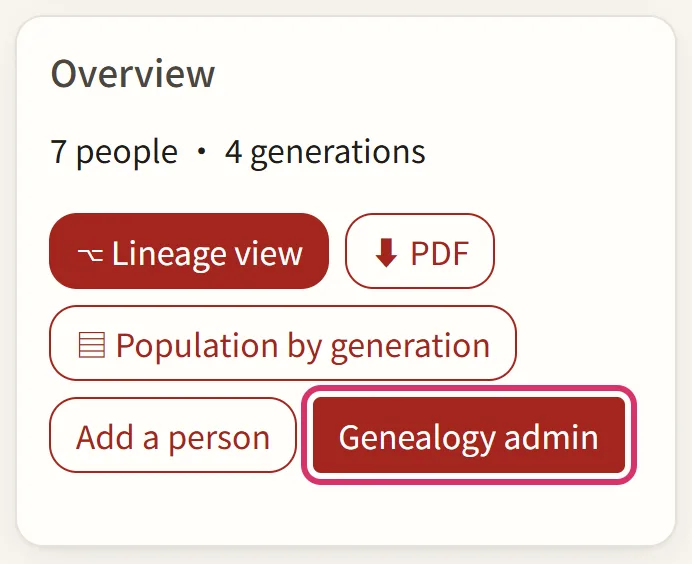
Whoever makes a genealogy is its administrator, and can make relatives who have joined it administrators too, to share the work. Everything here starts from Genealogy admin on the genealogy's front page - a button only its administrators can see.
1Review what is waiting
Open the genealogy's front page and press Genealogy admin.
Other people's changes wait in three lists: Pending: additions and changes, Pending: deletions and Waiting: submitted by code. Each entry says who it is about, the value now and the value proposed, who sent it and why. Changes sent with the access code are marked "by code", followed by the name the relative signed with, marked unverified. A person's name opens their page in a new tab, so you can check it.
If it is right, press Approve and it goes into the genealogy at once; if not, press Reject. With many entries, tick several (or Select all) and press Approve selected or Reject selected. Anything typed in Review note is shown to a submitter with an account, in their own My edit history. A deletion of someone with descendants says how many there are: approve it, and that whole line comes off the chart.

2Edit policy
Edit policy, at the top of Genealogy admin, decides which changes take effect without review.
- An administrator's own changes take effect immediately: ticked to begin with, so your own additions and corrections need no review. Removals are the exception: they follow the table below, for administrators too. Untick it, and administrators' changes follow the table like everyone else's.
- The table sorts changes into five kinds: Additions (people, spouses); Corrections to details; Removals (people, spouses, parents); Biographies (written here); and Other (marking checked, birth order). Each can be set to Needs review or to apply automatically; all start at Needs review.
Press Save when you are done. A kind set to apply automatically takes effect whoever sends it - including relatives using the access code. We suggest leaving removals at Needs review: set to automatic, nobody sees a removal before it happens.

3Details and description
The first box, Genealogy details, changes the genealogy's name, its English name, its village and its county. Pick the village from Villages as you type it, and the genealogy is listed on that village's page, with the village's map under the description on the genealogy's front page; a village not listed there can simply be typed. The genealogy's address stays as it is. Press Save.
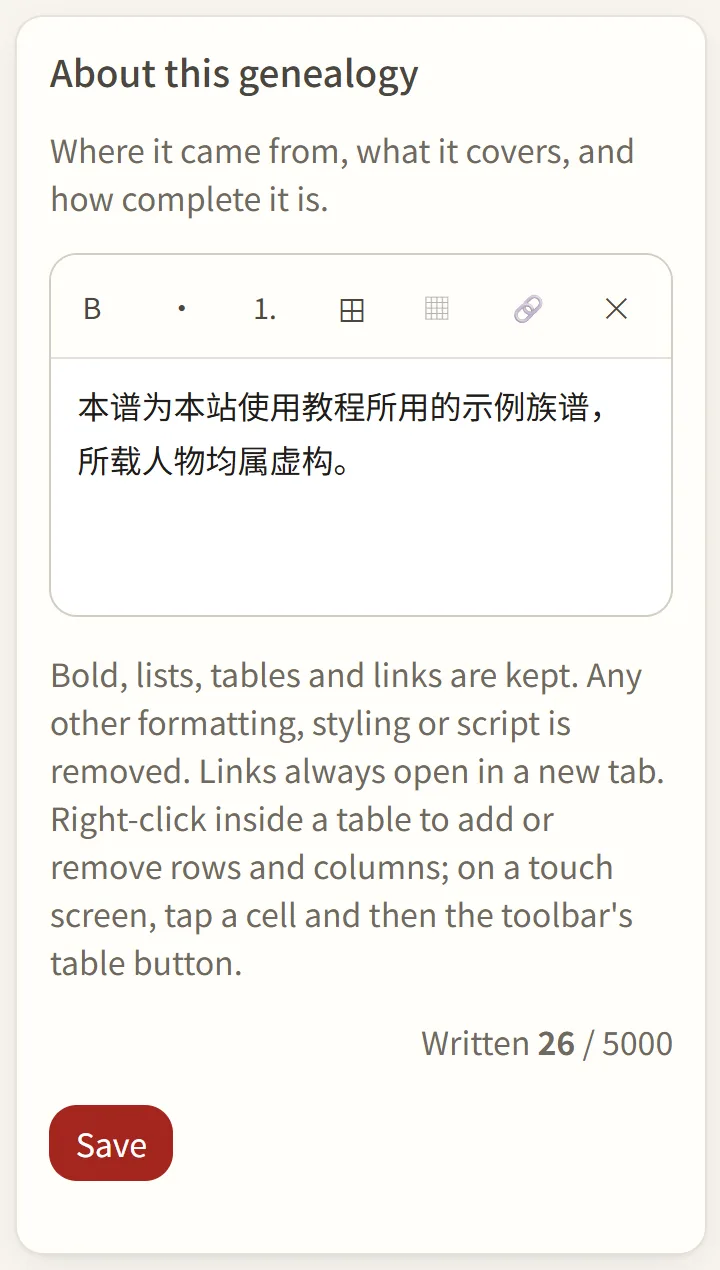
Under About this genealogy, say where the genealogy comes from, what it covers and how complete it is. It appears on the front page just below the genealogy's name, the first thing a visitor reads. The toolbar does bold, lists, tables and links; the count under it shows how much you have written, up to 5,000 characters. Press Save.
4Generation characters, and where the line comes from
Under Generation characters on Genealogy admin, press Edit generation characters →. If the family has a generation poem, type the whole of it into Characters under Generation poem - punctuation and spaces are taken out for you - then, under By generation, write the generation that began using it and its character; the generations after it are worked out from the poem. A skipped character, or a generation that used none, gets a line of its own in the table. Once you press Save, each person's page shows the character for their generation, and the front page gains a Generation characters section. If the genealogy has none, leave it empty.

For the line above the founder, press Edit where this line comes from → under Where this line comes from. Enter it one generation to a row, from other genealogies or local histories, with a Source for each; on the row that joins this genealogy, choose its first-generation ancestor under "Is this genealogy's". Once saved, the front page has a Where this line comes from button, and on that page the generations with a Place are joined on a map as the family's migrations.
5Relatives joining, and other administrators
A relative registers, signs in, opens this genealogy's front page and presses Apply to switch to this genealogy. The request appears on Genealogy admin under Requests to join, with who they are and their reason, for you to Approve or Reject. Once approved, their account is linked to this genealogy: signed in, they can see the recent generations and send additions and corrections. An account is linked to one genealogy at a time, so after switching they can no longer edit the one they were linked to before (unless they created it or administer it).
Under Genealogy administrators, press Accounts → to see the accounts on this genealogy and each one's role: Owner, Administrator or Member. Make administrator lets a member review and manage too; Return to member puts an administrator back; and Remove from this genealogy takes a member off it - their account remains, but they can no longer edit this genealogy. The owner's role cannot be changed here, and nobody can change their own. The number of administrators, the owner included, is capped by the site administrator.
6Change history: undo and roll back
Press ☰ Change history near the foot of Genealogy admin for every change that has taken effect, newest first: who it was about, the values before and after, who made it and when. If one was wrong, press its Undo: the earlier value comes back, and the undo is recorded as well. A few kinds of change cannot be undone - removing a spouse, for one - and those say why. Each person's page also has Changes to this person, for that person alone.
↺ Roll back to a moment returns the whole genealogy to how it was at a time you choose. Pick the time and press Show what would be undone first: it lists what would be undone and what cannot be, which stays as it is. Only then confirm with the button beneath.

Good to know
- The access code and the invitation to send relatives are under Access code on Genealogy admin; with the code, relatives can see the recent generations, and once Allow additions and corrections by code is ticked, they can add and correct as well. A second, view-only code can be set too, which lets its holder look and download but never change anything. See The whole family helps.
- The Biographies section of Genealogy admin lists every biography in the genealogy, each marked shown or not shown. Show and Stop showing take effect at once, with no review.
- Waiting entries stay in their list until an administrator approves or rejects them. Once 50 entries sent by code are waiting, new ones by code are refused, so review them as they come.